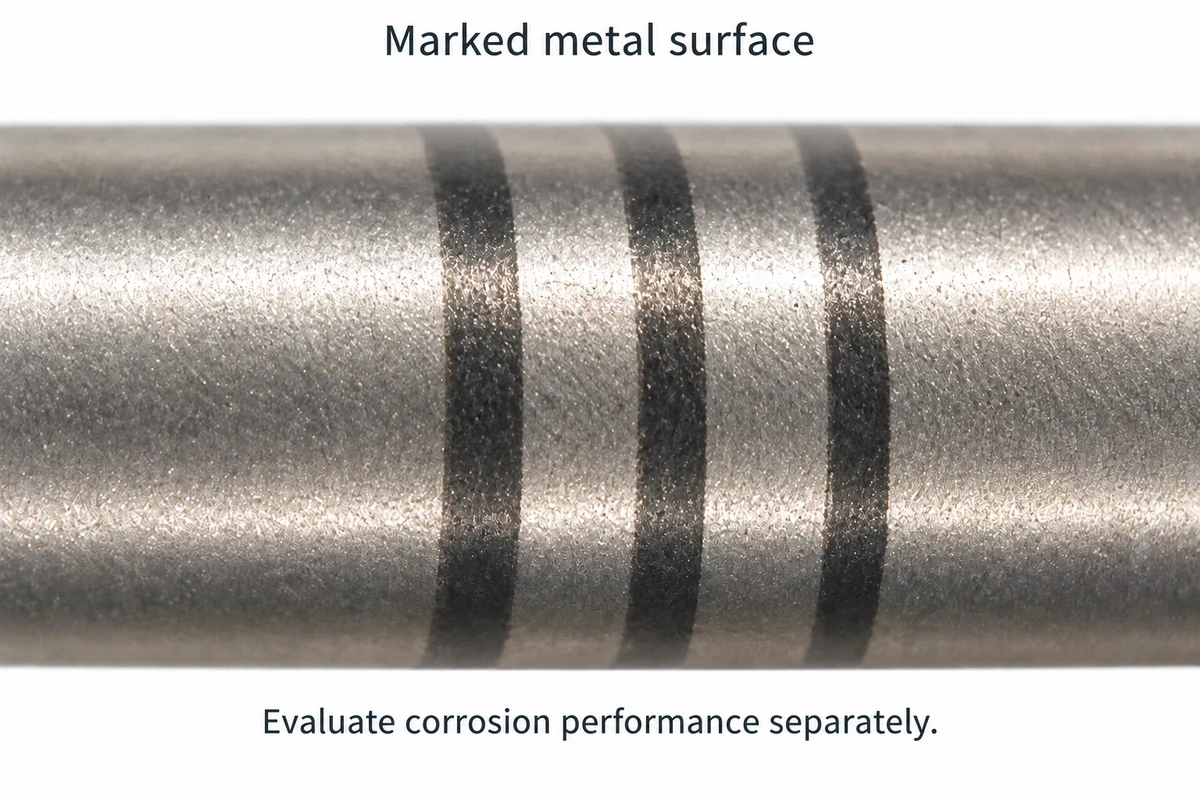
Serial numbers, logos and 2D codes are often laser marked on stainless steel parts. They may look clear immediately after marking, yet fade or develop rust around them after cleaning, passivation or time in service. For equipment parts that need lasting identification, both mark durability and the effect of marking on corrosion resistance deserve attention before production.
Laser marking can affect stainless steel corrosion resistance, but a marked part will not necessarily rust. The outcome depends on the alloy grade, original surface, marking process, subsequent treatments and service environment. Understanding these factors helps you plan sample checks and avoid judging performance solely by the color or appearance of a freshly made mark.
Why Laser Marking Can Affect Stainless Steel Corrosion Resistance
Stainless steel owes its corrosion resistance to a very thin, chromium-rich passive film on its surface. A laser heats the surface locally as it forms a mark. Depending on the process, it may also cause oxidation, melting or material removal. These effects change the condition of the marked area, making its corrosion performance worth checking.
Laser power is only one factor. Pulse characteristics, scanning speed and the way a pattern is filled also affect how the laser interacts with the surface. A study of laser marking on AISI 304 with a 2B finish found markedly different corrosion behavior under different processing conditions. For buyers and engineers, the practical implication is to validate the process actually used rather than copy settings from another material or machine.
Consider the material and service environment together. Do not assume that 304 and 316, or brushed and polished finishes, will respond to the same marking conditions in the same way. Exposure to salts, cleaning agents or moisture affects what needs to be verified. A request for ‘laser marking on stainless steel’ alone rarely gives a supplier enough information to assess the risks.
Agree on the Marking Process and Its Name with Your Supplier
Laser etching, laser engraving and laser annealing are common terms in supplier literature. Their use is not entirely consistent across suppliers. First agree on the actual process behind the name, then record that agreement in the drawing or process requirements.
If the design calls for a recessed engraving, specify the required depth. If it calls for a color change with minimal change to the surface profile, ask the supplier how that result will be achieved. Annealing marks generally use localized heating to produce a color change, while engraving involves material removal. Clarify what surface change a supplier means by ‘etching’ so that the agreed terminology matches the sample.
The same caution applies to black laser marking on stainless steel: a dark appearance does not identify a single process. TRUMPF’s technical explanation of ultrashort-pulse black marking discusses both surface micro- and nanostructures and oxide films, and limits corrosion performance to certain parameter ranges. Evaluate samples and validation results rather than choosing a process solely because it is called nanosecond, picosecond or black marking.
| Item to Confirm |
Information to Provide |
| Material and surface |
Exact alloy grade and finish, such as 304 or 316, 2B, brushed or polished. |
| Mark content |
Actual artwork, dimensions and location; any engraving depth or 2D-code reading requirements. |
| Marking process |
Agreed process name, actual marking method and a traceable process revision. |
| Later processing and environment |
Cleaning, passivation and other steps, plus salts, contact media and cleaning agents encountered in service. |
Cleaning and Passivation Affect the Final Marking Result
Parts often undergo cleaning or passivation after marking. These steps affect surface cleanliness and may also change the mark’s color and contrast, so sample approval should extend beyond the freshly marked condition.
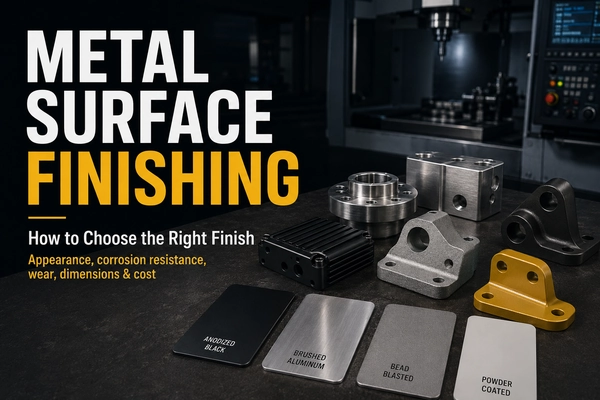
Cleaning, pickling and passivation serve different purposes. The Australian Stainless Steel Development Association explains that grease and oil need to be removed first; pickling removes scale and the associated affected surface layer; and passivation removes contaminants such as free iron and promotes formation of the passive film. Select the treatment for the part’s condition and requirements rather than treating passivation as a remedy for every surface problem. For a broader comparison, see our metal surface finishing guide.
When marking comes before passivation, check that the treated mark remains clear and the surface meets the agreed corrosion requirements. When marking comes after passivation, assess how the laser affects the previously treated surface. Either sequence can be evaluated. The important step is to make samples in the actual production sequence and inspect them after all specified operations are complete.
Investigating Faded Marks or Unreadable Codes after Passivation
A deep black mark that becomes pale, reflective or unreadable after passivation is a problem to investigate during sample trials. Keep photographs and reading records of the same marking location before and after treatment. Then review the marking, cleaning and passivation conditions with the supplier to identify where the change occurred.
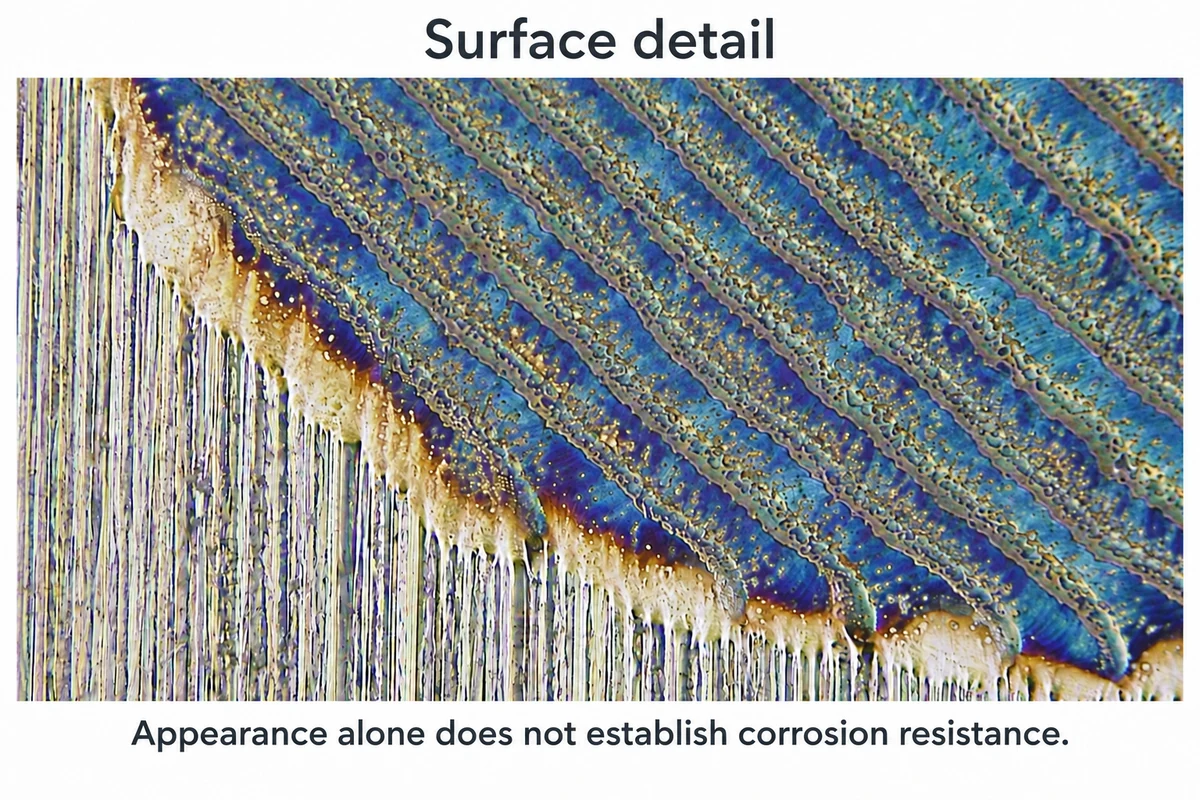
Fading may involve changes to the marking layer or surface structure, but photographs alone cannot establish the mechanism. Check two separate outcomes: whether the characters or code still meet identification requirements, and whether the surface meets corrosion requirements. A faded mark does not necessarily mean lower corrosion resistance, just as clear lettering does not replace a corrosion check.
If you change the laser process or operation sequence, put new samples through the same subsequent steps before comparing results. A photograph showing a darker, clearer new mark still does not establish whether it will retain that appearance after passivation or service exposure.
How to Make a Useful Comparison of Marked Samples
To assess whether laser marking adds a corrosion risk, select marked samples and unmarked controls with the same material and initial surface condition, preferably from the same material batch. Put both groups through the same cleaning, passivation and test conditions. Keeping marking as the main difference makes the results easier to interpret.
Use the actual artwork and marking location wherever possible. A flat coupon used for initial trials may not represent a mark on a curved surface, formed area or location close to an edge. Final approval should cover representative part geometry. Agree on sample quantities, repeat tests and the range of conditions to be covered before testing begins.
| Check Stage |
What to Compare |
Suggested Records |
| Before marking |
Whether both groups start with equivalent surfaces. |
Material and finish, sample IDs and photographs of the marking location. |
| After marking |
Changes in the mark and surrounding surface. |
Artwork and process revisions, appearance photographs, and character or code reading results. |
| After cleaning or passivation |
Effects of subsequent treatment on the mark and surface. |
Actual process records, photographs of the same location and repeat reading results. |
| After the agreed test |
Corrosion behavior and readability of marked samples and controls. |
Test conditions and duration, corrosion locations, photographs and separate acceptance decisions. |
Keep lighting, distance and viewing angle reasonably consistent when taking photographs, and include the adjacent unmarked surface. If a test alters the surface or consumes a sample, plan separate sample groups in advance so that effects of the test itself are not mistaken for effects of marking.
Agree on Acceptance Criteria before Reviewing Test Results
Statements such as ‘passivated’ or ‘passed salt spray’ need specific conditions. If a drawing references ASTM A967/A967M for chemical passivation of stainless steel, agree on the applicable edition, treatment and verification requirements. Its public scope describes alternative qualitative effectiveness tests; it does not prescribe one material, treatment or acceptance criterion for every application.
For salt spray testing, agree in advance on the method, conditions, duration and corrosion evaluation criteria. The public scope of ISO 9227 for salt spray tests states that these tests are not intended to predict long-term material corrosion resistance. A report can therefore support an agreed project quality decision, but its test hours cannot be directly converted into years of outdoor service.
Record corrosion acceptance and mark identification results separately. If a 2D code has a specified quality grade or verification requirement, check it against the project specification. Successfully reading the code with one smartphone does not replace the agreed verification method.
When Rust Appears Check Its Location and the Process History
Photograph rust and record its location before continuing with the agreed inspection procedure. Whether it appears inside the characters, at the mark boundary, on adjacent unmarked surfaces or on control parts can help narrow the investigation. Repeatedly scrubbing the part before taking photographs may remove useful evidence.
- Rust mainly within the mark: prioritize the marking conditions, local surface changes, and records from before and after cleaning or passivation.
- Similar damage on unmarked areas or control parts: also review the initial surface, contact contamination, cleaning and test environment.
- Fading or reading failures after processing or use: compare photographs and reading records from each stage to identify when the change began.
These observations guide an investigation; they do not establish the root cause by themselves. Rust from surface contamination, deposits and pitting of the stainless steel substrate may require further examination to distinguish. The supplier should use process records and any necessary testing to decide whether to change marking, cleaning or subsequent treatment.
Carry Approved Sample Requirements into Production
Once samples are approved, retain the material and finish requirements, artwork and location, operation sequence, process revision and acceptance criteria together. This gives production a clear basis for repeat orders and helps assess whether earlier validation still applies when the finish, pattern fill or passivation process changes.
A supplier may keep its detailed machine settings confidential, while both parties still agree on a traceable process revision and change-control rules. The purpose is to reproduce the approved marking result in later batches and meet the corresponding corrosion requirements.
For an RFQ, provide more than drawings and quantity. Include the marking artwork, material and finish, later cleaning and passivation steps, service environment, and reading and corrosion inspection requirements. Our custom metal parts RFQ guide explains how to organize the information.
To discuss a stainless steel laser etching and marking project, send Tongyong your drawing and marking requirements. The scope of samples, post-processing and testing will be confirmed against the project requirements.
References
Kučera, Švantner and Smazalová — Influence of Laser Marking on Stainless Steel Surface and Corrosion Resistance, METAL 2014
ASSDA — Pickling and Passivation
ASTM A967/A967M-25 — Chemical Passivation Treatments for Stainless Steel Parts
ISO 9227:2022 — Corrosion Tests in Artificial Atmospheres — Salt Spray Tests
TRUMPF — Black Marking with Ultrashort Pulses
ASSDA — Grade 316 The First Step Up
GS1 — DataMatrix Guideline
 Have a Custom Manufacturing Project?